The Complete Beginner’s Guide to Trezor.io/start
Setting up your Trezor hardware wallet the right way — from first unboxing to secure crypto management.
Introduction: Why Trezor.io/start Matters
This is where Trezor.io/start comes into the picture. It’s the official on-boarding destination for setting up a Trezor hardware wallet, a physical device that stores crypto offline and keeps private keys out of reach from online threats. Whether you’re securing Bitcoin, Ethereum, stablecoins, or multiple altcoins, the setup process forms the foundation of your long-term digital asset protection.
In this long-form guide, we will walk through everything beginners need to know — not just how to set up Trezor, but also how hardware wallets work, why seed phrases matter, and how to avoid the mistakes that cost new investors their funds.
A Quick Overview: What Trezor.io/start Is
- A safe installation link for Trezor Suite
- Firmware update instructions
- Seed phrase setup and backup guidelines
- Initial security recommendations
- Device verification steps
How Hardware Wallets Work (Explained Simply)
If the private keys stay offline, hackers can't reach them — even if your computer gets infected. This makes hardware wallets much safer than mobile wallets or browser extensions.
A Trezor device generates keys locally and never exposes them to the internet. When you sign a transaction, it happens inside the device, then the signature is sent to your computer. Your private keys never leave the hardware.
💡 Key Concept: Your Seed Phrase Is Everything
During setup at Trezor.io/start, you’ll receive a 12- to 24-word recovery phrase. This phrase is the master key to your crypto. Anyone holding it can control all your funds — even without the physical device. Keep it offline, handwritten, and never photographed or saved digitally.
Step-by-Step Guide to Setting Up Trezor via Trezor.io/start
Step 1: Unbox Your Trezor and Verify Authenticity
Check the holographic seals on the box. Trezor packages are designed to show any attempt at tampering. If something looks suspicious, stop immediately and contact support. Authenticity is your first security line.
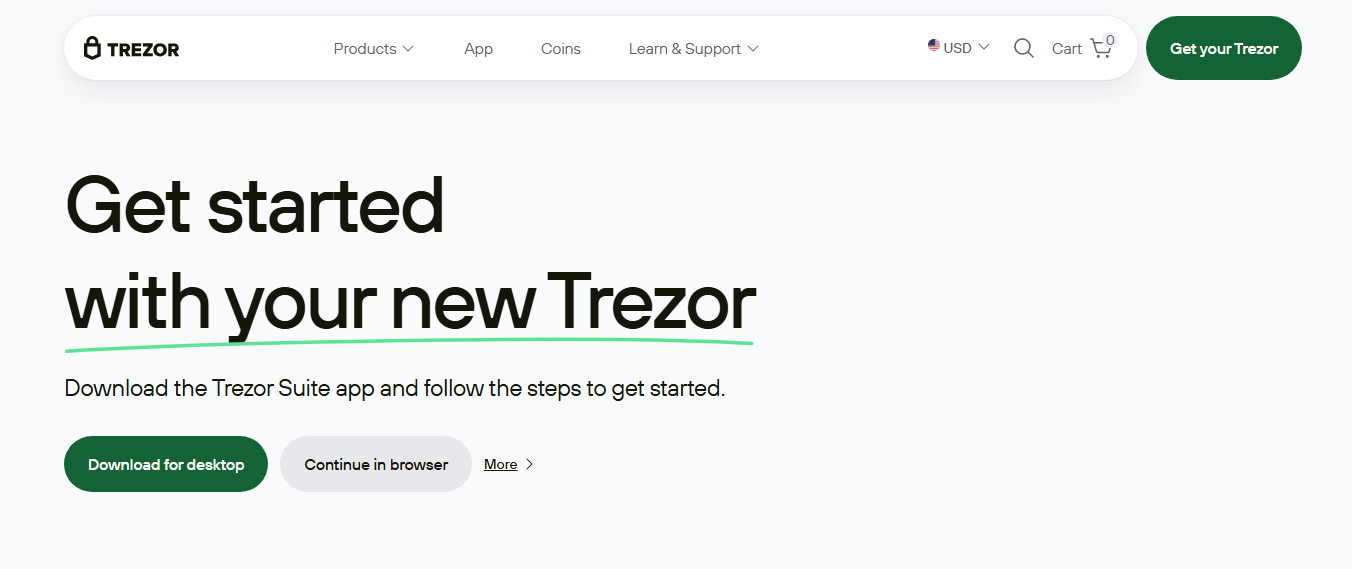
Step 2: Visit Trezor.io/start
Type the address manually into your browser. Avoid clicking ads, sponsored links, or unofficial pages — phishing sites target new users aggressively. Once on the official page, you’ll be guided to download Trezor Suite.
Step 3: Install Trezor Suite
Trezor Suite is the desktop interface where you manage your assets. It helps you send crypto, track your portfolio, organize accounts, and adjust security preferences. Downloading it from the official source ensures safety.
Step 4: Connect Your Trezor Device
Use the provided cable to plug the device into your computer. Trezor Suite will automatically detect it and prompt you to begin the setup process, including firmware installation if needed.
Step 5: Generate Your Recovery Seed
This is the moment that defines your wallet’s security. The device will show your 12–24 words one by one. Write them down carefully in order. Never store them digitally. Never take photos. Never share them. Losing your seed phrase means losing access to your crypto forever.
Step 6: Create a PIN
The device lets you set a secure PIN to prevent unauthorized access. Choose a PIN that’s not easily guessable. This adds an extra barrier of protection even if someone physically obtains your device.
Step 7: Add Your Crypto Accounts in Trezor Suite
Once setup is complete, you can begin adding accounts for Bitcoin, Ethereum, and various ERC-20 and other supported assets. Each account is linked to your device’s private keys and requires confirmation on the hardware unit for every transaction.
Comparison: Trezor vs. Other Crypto Wallet Types
| Wallet Type | Security Level | Who It’s Best For |
|---|---|---|
| Hardware Wallet (Trezor) | Very High — offline private keys | Crypto holders, long-term investors |
| Software Wallet | Medium — depends on device security | Everyday transactions, small amounts |
| Exchange Wallet | Low — exchange controls your keys | Beginners or short-term traders |
🎙️ Quote Highlight
“Owning crypto without owning your keys is like owning a house without the keys to the front door. Trezor.io/start helps you claim full control.”
Common Mistakes to Avoid During Setup
- Using unofficial download links. Always type Trezor.io/start manually.
- Saving the seed phrase digitally. Screenshots, cloud storage, and notes apps are risky.
- Not testing recovery. After setup, learn how recovery works — but avoid entering your seed online.
- Ignoring firmware updates. These updates patch vulnerabilities and improve safety.
- Sharing the seed with “support agents.” No legitimate service will ever ask for it.
FAQs About Trezor.io/start
Is Trezor.io/start safe?
Yes. It is the official onboarding guide from Trezor. The only risk comes from impersonation sites — always enter the URL manually.
Do I need internet to use a hardware wallet?
The device remains offline. Only Trezor Suite connects to the internet to broadcast transactions, keeping private keys safe.
What coins can I store?
Trezor supports Bitcoin, Ethereum, ERC-20 tokens, and many alternative coins — making it suitable for diversified portfolios.
What happens if I lose my device?
Your seed phrase recovers everything. That’s why backing it up securely is the most important part of the entire setup process.
Conclusion: Master Your Crypto Security Through Trezor.io/start
Setting up your device through Trezor.io/start is the essential first step toward true crypto ownership. By following the guided process, securing your seed phrase, and learning how Trezor Suite works, you transition from depending on centralized exchanges to owning your financial future with confidence.
Crypto rewards those who take security seriously. With the right setup and habits, your Trezor hardware wallet becomes a long-term vault — a place where your digital wealth stays safe, accessible, and under your full control.